I wanted to post my version of a sheath tutorial, which does not utilize a wooden insert. Wooden inserts do indeed make a sturdier sheath but I like simple things and a while ago I decided to make a sheath sans insert, mostly to see how sturdy it could be, and to try something different. My brother over at
Fisker Fjord Knives utilizes the wooden insert for his sheaths and they look fantastic, but sometimes different is good, too, right? Here goes:
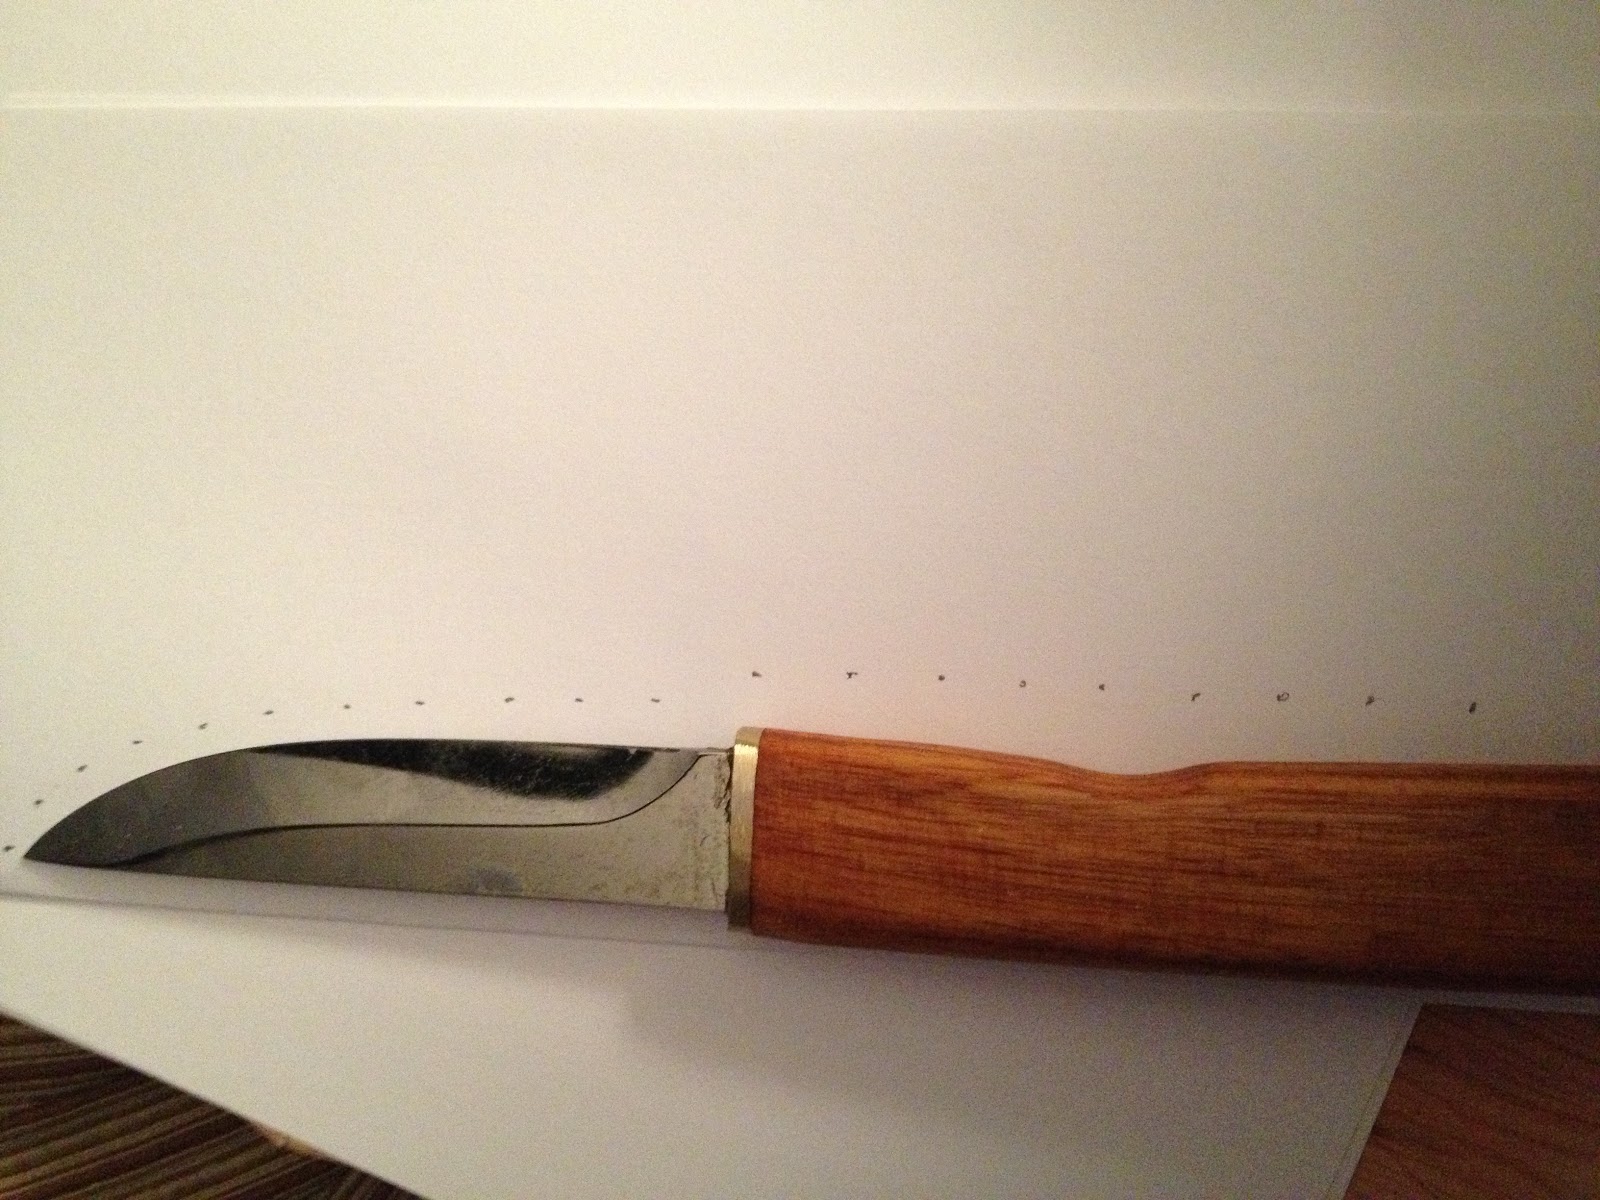
Start off with folding a piece of paper lengthwise and place the knife down on the paper, with the spine of the knife parallel to the fold.
Along the edge of the blade and handle, place small marks on the paper, allowing for contours and curves of the knife.
Trace a single line based on your markings. I make the marks about a 1/2" or so wider than the knife and handle. Be sure to mark where you want the sheath to end as well.
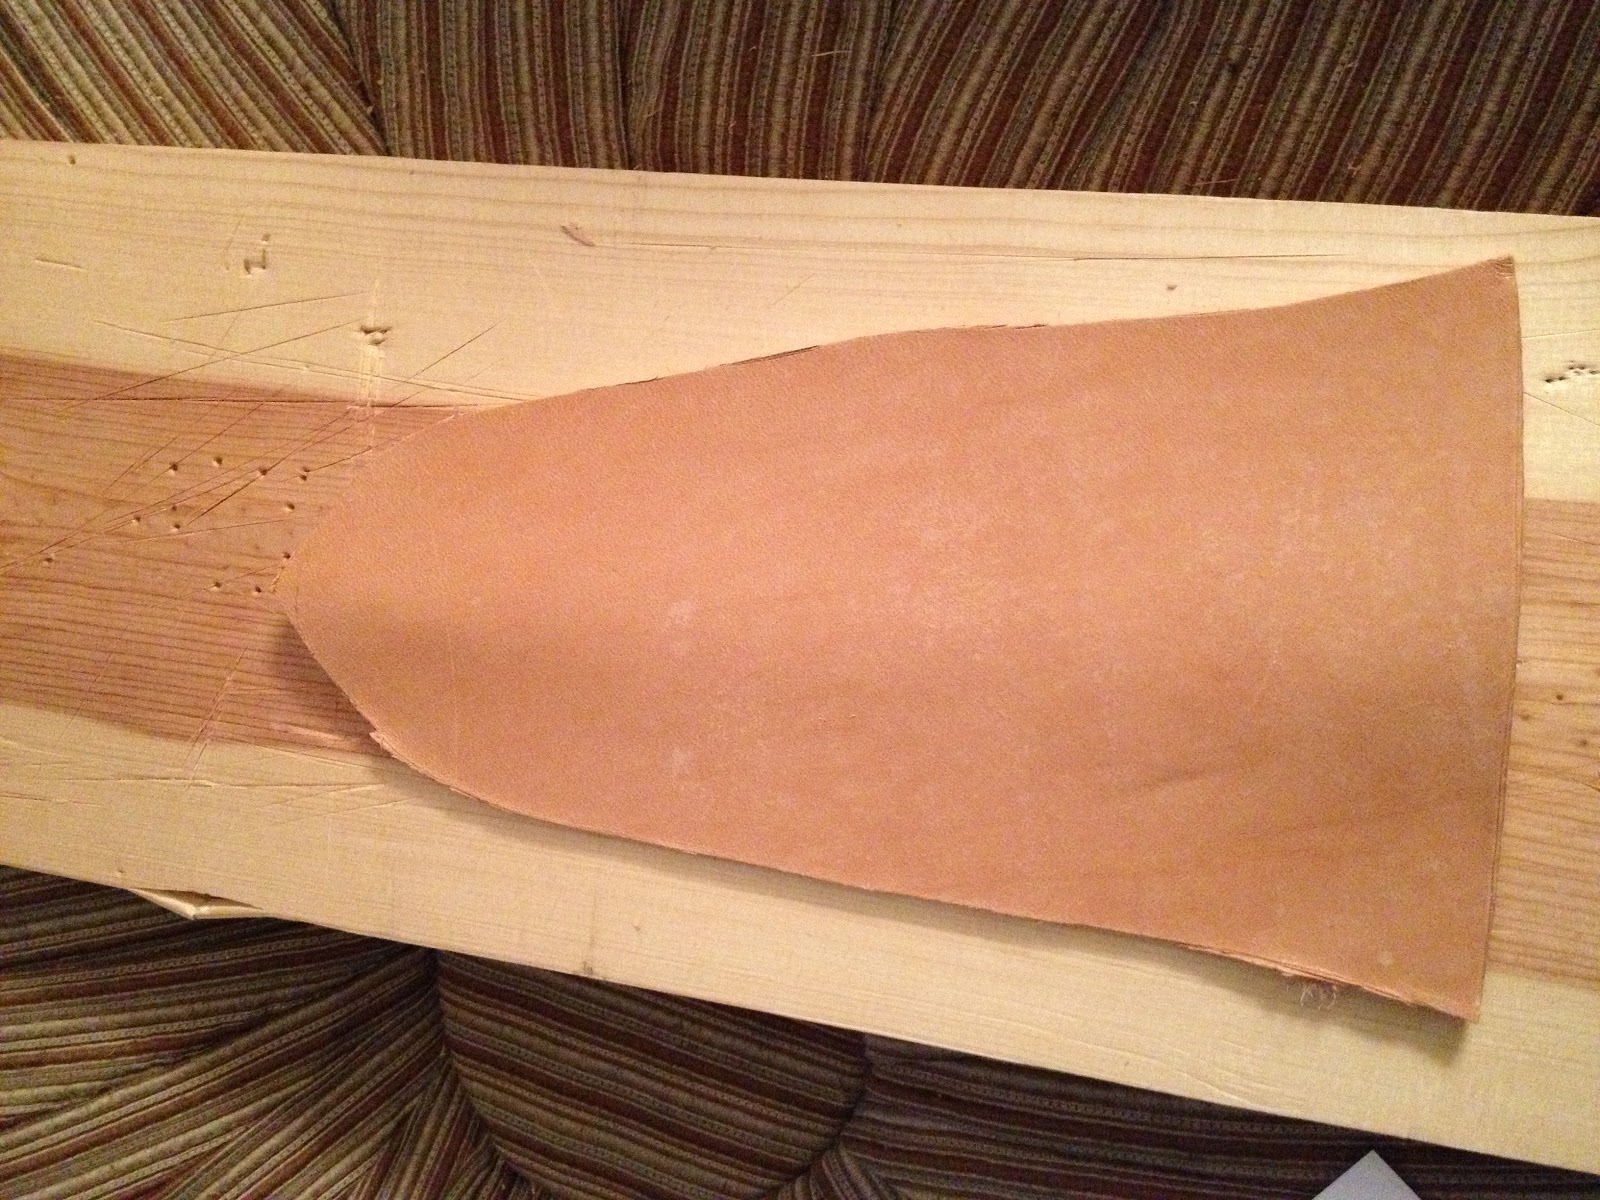
Cut out along the line, cutting both sides of the paper at once. This allows an even cut on both sides. Now, I put the knife in the paper cutout and fold over to see if any additional leather will be needed. Remember, it is much easier to work with more leather than less.
Trace the paper cutout on your leather, allowing a little more space if need be and cut the leather to size. I then submerge the leather into warm water for 10-15 minutes. This allows for a full saturation of the leather.
Oil the blade then cover the knife in its entirety to protect it from moisture. Place the knife in the sheath and place clamps along the outer edge of the sheath, pulling it tight. Wetting the leather makes it very pliable and once dried it will maintain its shape, so be sure to get the shape you want. I let my sheath dry for 12-24 hours, in order to allow the leather to dry enough to maintain its shape yet still damp enough to work with - it is easier than completely dry leather.
Next, I use an awl to create my holes. I mark them out first with small holes then when satisfied I use the awl to puncture the leather enough to go through one side and make a mark on the other. I then puncture the other side. Do this all the way up. I start from the bottom and go up, and leave a little space at the top - this is where I will make a larger hole for the hanger.
I use synthetic sinew thread. It is waxed and has a sticky feel to it, and looks very similar to actual sinew. This is the next best thing to using the real thing! I do a saddle stitch using two needles and go through each hole with both needles. Remember if you begin with the left side then pass the other needle through the right (or vise verse) you will need to always pass through the left again when beginning a new hole. Pull it tight and sew all the way up. At the top, I reverse order a few holes then back up to the top to create a tighter stitch. Knot several times at the top and cut off excess thread.
Here is the sheath sewed up. Now, I made a hole up at the top for the hanger. For the hanger, I cut a thin slice of leather about 8" long with a wider section at one end and a thin section at the other. Cut a slit in the wide end.
Pass the hanger through the hole and then place the thin section of the hanger through the slit at the wide end.
Make the knot by wrapping the end of the hanger under and through the hole you have created then back through the top hole. Pull it very tight. Sometimes it helps to wet this piece of the hanger to secure the knot even more. I did not have to with this one but it does work well if you wet it. Get hanger the size you want (make sure it is not too small or a belt won't go through). When it is tight and you are happy with it, cut off the excess leather.
It should look something like this. Now it is time to put stain and finisher on it. Finisher will create a waterproof protection and harden the leather not to mention give it a beautiful color. There are many brands out there, but I use Eco-Flo All-In-One Stain and Finisher from
Tandy Leather Factory.
Here is the finished sheath. Be sure to use gloves and cloths to put the stain on/wipe off as soon as possible. If you put this stain on and wait too long it begins to streak and you will have to go over it more. I use a healthy amount and rub in a circular pattern, repeating this until the desired color.
Please feel free to send feedback or photos of your sheaths, especially if you use this method. Hope you enjoy!


No comments:
Post a Comment